

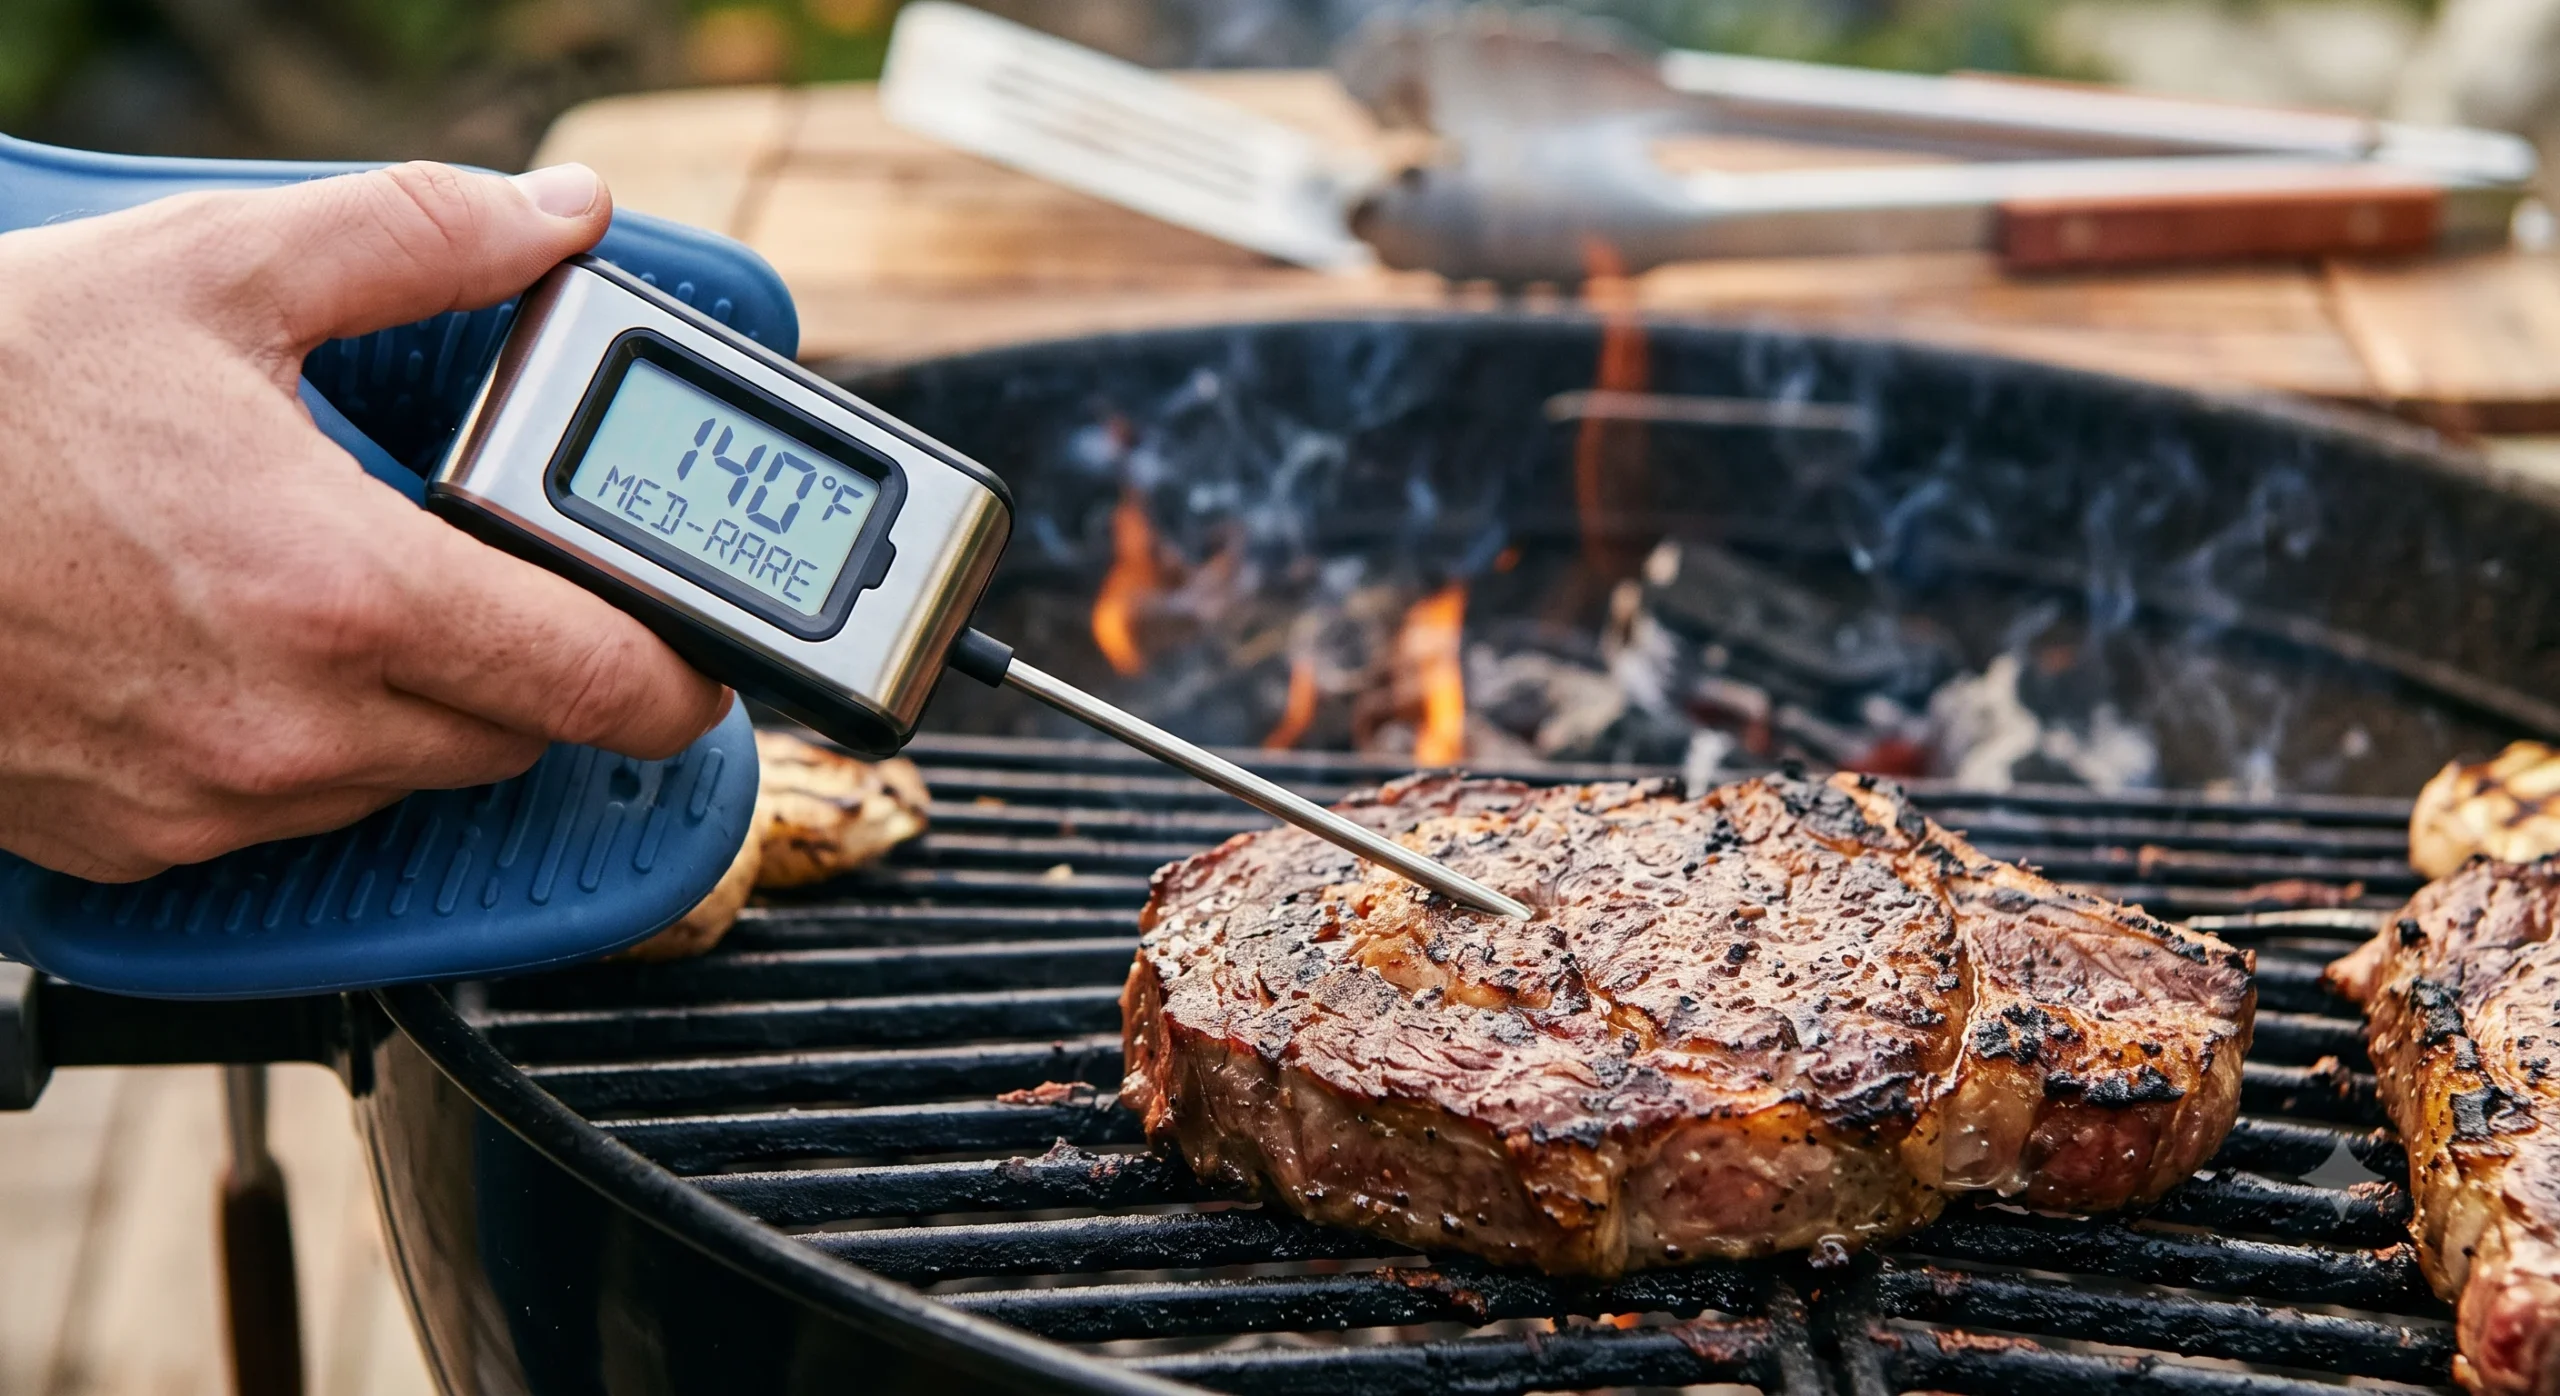
If you have ever sliced into a beautiful chicken breast only to find it raw in the middle, or pulled a roast out of the oven only for it to taste like cardboard, you know the frustration of guessing cooking times. Many home cooks rely on visual cues or strict cooking timers. However, the secret to consistently great meals relies entirely on one vital skill: mastering how to use kitchen thermometer probes correctly. Understanding how to use kitchen thermometer tools takes the anxiety out of cooking. It bridges the gap between guessing and absolute culinary precision.
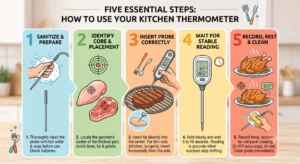
To get the most out of your tool, follow these fundamental steps during your cooking routine:
-
Sanitize the metal probe thoroughly with hot water and soap before you begin cooking to prevent cross-contamination.
-
Identify the thickest part of the meat, aiming for the geometric center while keeping away from bones and pockets of fat.
-
Insert the thermometer probe to the correct depth, ensuring the tip is suspended directly in the middle of the food.
-
Hold the thermometer completely still and wait five to ten seconds for the digital display to stop changing.
-
Record the temperature reading and wash the metal probe immediately with hot, soapy water before storing it.
For thin cuts like chicken breasts or burgers, insert the probe horizontally through the side. To guarantee food safety and prevent overcooking, always account for carryover cooking by removing meat from the heat 5°F to 10°F below your final target temperature.
Why Your Oven Dial Lies
Your oven is a deceptive piece of machinery. When you turn the dial to 350°F, the internal space rarely stays at a flat 350°F. Instead, traditional ovens cycle heat up and down, meaning your oven’s built-in gauge could be off by 25 to 50 degrees from the set temperature. This surprising inaccuracy makes an external cooking thermometer your most reliable kitchen companion. Relying solely on time and a faulty oven dial is a fast track to undercooked or dried-out food. The internal temperature of the food itself is the only metric that gives you a true picture of cooking doneness.
How to Read a Meat Thermometer: Step-by-Step Execution
Learning how to use kitchen thermometer digital tools requires a quick, repeatable routine. Following a set workflow keeps your meals delicious and keeps your family safe from foodborne illness. First, always ensure that your device is clean and disinfected before use to avoid cross contamination food safety issues. Turn on the device and locate the digital food probe placement area on your meat.
Next, insert the tip into the food. If you are using instant read thermometers, push past the center slightly and slowly pull back until you find the lowest temperature zone. Hold the unit steady. The reading is likely to rapidly increase or decrease depending on the situation, so be sure to wait until the temperature has settled before noting it. Finally, remove the tool and wash the probe in hot soapy water immediately. Focus specifically on the stainless steel part that came into contact with the raw juices.
Master the Probe: Exact Placement Secrets for Every Cut of Meat
Getting an accurate reading is entirely dependent on where the sensor sits inside the food. If your placement is off, your reading will be completely wrong.
For large roasts, whole chickens, or thick-cut steaks, aim directly for the geometric center of the meat. Put the thermometer 5 to 7 cm deep into the thickest part of roasts. Be careful to stay away from bone, fat, and gristle. Bones conduct heat faster than muscle tissue, which will give you a false, prematurely high reading.
Thin cuts need a completely different approach. If you plunge a probe straight down through a thin chicken breast, the sensor will read the temperature of the hot pan underneath. Instead, use the side-insertion technique. Slide the metal probe horizontally through the side of the meat until the tip rests perfectly in the dead center.
When cooking a whole turkey or chicken, the thermometer works best when inserted into the innermost part of the thigh, just past the intersection where the drumstick meets the breast. Avoid touching the thigh bone itself.
Vegan meat substitutes, soy proteins, and dairy-free alternatives are structural intent gaps that most guides ignore. Plant proteins do not behave like animal proteins. They lack natural collagen and require unique heat zones for structural binding and fat activation. When working with plant-based meats, you must insert the probe using the thin-cut side method to ensure the binding starches have reached their specific thickening points without drying out the exterior.
The Chemistry of Carryover Cooking: Pull Temp vs. Final Resting Temp
One of the biggest mistakes home cooks make is leaving meat on the stove until it hits the final USDA safety target. If you pull a steak off the grill right at your ideal target temperature, it will be overcooked by the time you eat it. This happens because of a scientific phenomenon called carryover cooking. The intense heat trapped on the outside of the meat continues to move inward toward the cooler core, even after the food is away from the heat source. The resting meat temperature rise can add an extra 5°F to 10°F during the resting phase.
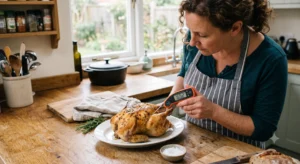
Always pull your poultry at 155°F to 160°F so it rests up to the safe 165°F standard. Pull ground meats at 150°F so they reach 160°F during the rest. For a perfect medium-rare beef steak, your target pull temperature should be 130°F so it rests to a final temperature of 140°F. Pork chops can be safely pulled at 135°F to hit a final 145°F. Always pull your larger cuts of meat slightly early and let them rest for at least 5 to 10 minutes to allow the heat to distribute evenly and keep the juices locked inside.
Digital vs. Analog: Choosing the Right Tool for Your Kitchen Style
Understanding how to use kitchen thermometer styles means matching the right device to your specific recipe. An instant-read digital thermometer gives ultra-fast readings in 2 to 5 seconds and is ideal for quick stovetop checks, thin cuts, and grilling, though it cannot be left inside an oven. Meanwhile, probe thermometers with continuous monitoring feature a heat-resistant wire connected to an external display.
These stay inside the meat throughout the entire roasting process so you never have to open the oven door. While analog dial styles exist and work without batteries, they take up to two minutes to register a steady temperature. Digital models provide unparalleled speed and keep you out of the temperature danger zone where bacteria thrives.
The False Reading Checklist: Why Your Thermometer Gives 3 Different Numbers
It can be incredibly frustrating to test a piece of meat and see three completely different numbers within a two-inch radius. If you are wondering why your meat thermometer is giving different readings, check for three common culprits. First, air pockets can form if your meat has loose muscle fibers or stuffing, causing the air gap to read lower than the actual meat temperature.
Second, the cooking gradient means the exterior of your food is always hotter than the core, so moving the tip just a quarter of an inch changes your reading. Third, pan proximity creates an artificial spike if you get too close to the bottom of a metal roasting pan. To solve this issue, always look for the lowest consistent number when tracking cooking doneness, as it tells you what the least-cooked portion of your food is reading.
Bulletproof Accuracy: The Ice-Point Method for Thermometer Calibration
To make sure your tool stays completely reliable, you need to test its accuracy regularly. The most dependable way to do this is the ice-point method. Fill a tall glass with crushed ice and add cold water to form a thick, slushy slurry. Insert the clean probe directly into the ice-water mixture, making sure the sensor is fully submerged without touching the bottom or sides of the glass. Wait for the digital display to stabilize. The device should read exactly 32°F or 0°C. If your reading is off by more than one degree, follow the manufacturer’s manual to reset it, or adjust your recipe calculations to compensate for the drift. Keeping a regular log of your calibration builds great kitchen safety habits.
FAQs
What is the temperature danger zone for food?
The temperature danger zone is the range between 40°F and 140°F. Within this window, harmful bacteria can multiply rapidly on food. Using a reliable kitchen thermometer ensures your food moves safely through and out of this zone quickly during the cooking process.
How far do I need to insert an instant read thermometer?
For most digital pocket models, the actual sensor chip lives within the last half-inch of the metal stem. Because of this, you only need to insert the tip deep enough to fully envelope that bottom half-inch area within the core of your food to get an accurate reading.
Can I leave my digital food probe inside a closed air fryer?
No, you should not leave standard probes inside appliances like air fryers or microwaves. Unless your product manual explicitly states that it features a specialized, wireless, heat-resistant transmitter designed for tight seals, always use an instant-read option for quick, manual temperature checks instead.
Knowing how to use kitchen thermometer gear is the fastest way to upgrade your culinary skills. By focusing on accurate depth, adjusting for carryover cooking heat, and maintaining clean tools, you protect your kitchen from safety hazards while serving perfectly juicy meals every single time.



Leave a Reply