

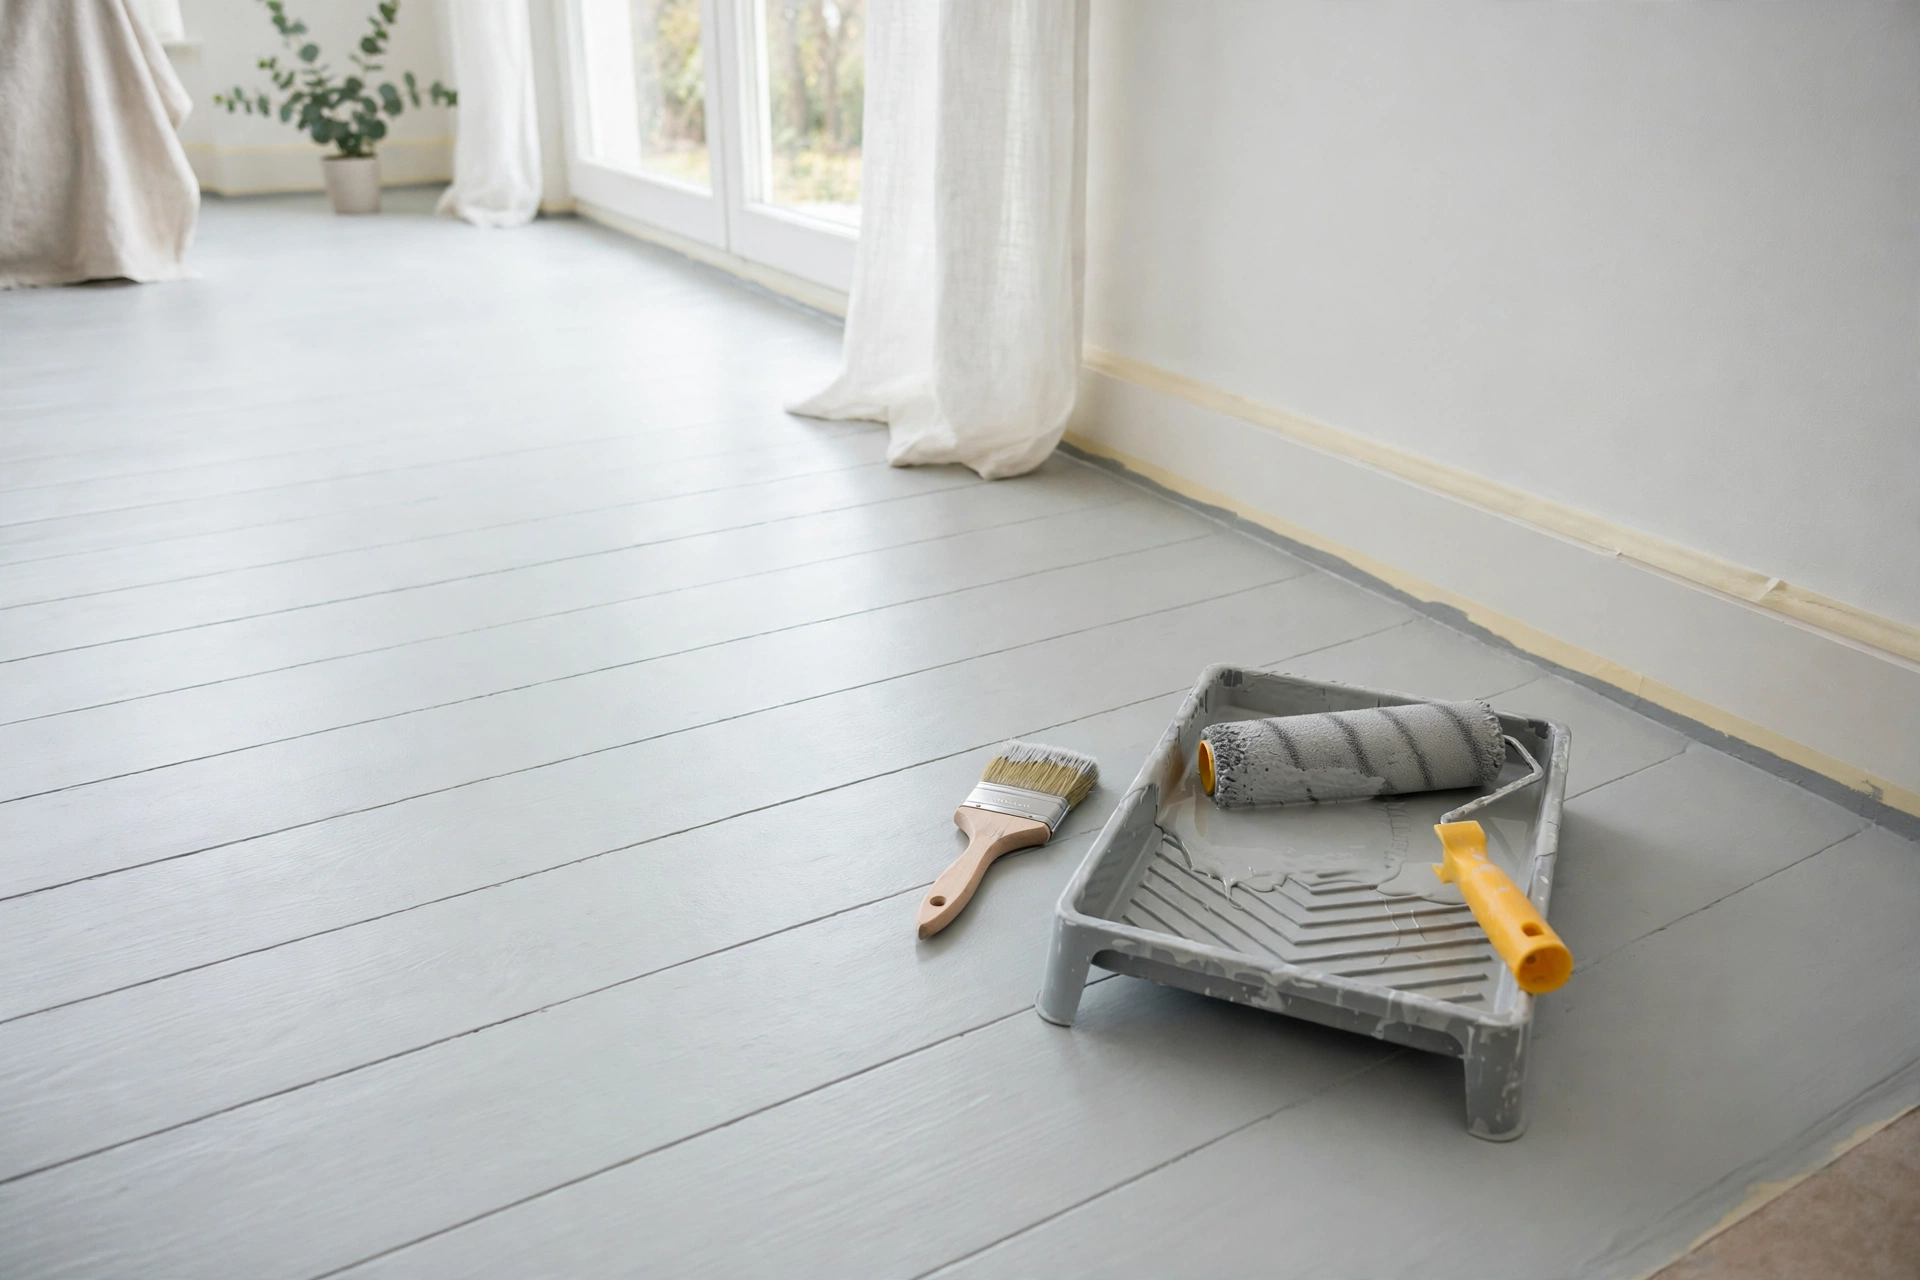
Painting a timber floor can turn tired boards into the best-looking feature in a room. A fresh coat hides stains, evens out a patchy finish, and costs far less than new flooring.
In short, the result depends on the prep, not the painting. A clean, smooth, primed floor holds its finish for years, while a rushed job peels at the edges within months. This guide covers the whole job, from floor paint for wood to drying times. It also covers grey floor paint, mistakes, and a quick grout job.
Is Painting a Timber Floor Right for Your Home?
First, check what you are painting. This guide is for real timber boards — pine, oak, or other solid wood. Laminate and pre-finished engineered floors do not take paint well, so leave those alone. Stained, scratched, or varnished solid boards are good candidates.
Next, think about the room. Painted floors suit bedrooms, hallways, and living rooms best. In a kitchen or bathroom, they face more water and wear, so pick a hard-wearing finish. Finally, remember that painting is hard to reverse. Sanding painted boards back to bare wood takes serious work. If you love natural wood, sanding and oiling may suit you better.
Painting a Timber Floor: What You Will Need
Before you start, gather everything in one place: a brush for cutting in, a short-pile roller, a paint tray, sandpaper, a vacuum, wood filler, a filling knife, masking tape, a dust mask, and goggles.
Also, buy the right paint before you begin. The floor paint wooden floorboards need is made for floors, not walls. Ordinary wall emulsion will scuff and peel within weeks under foot traffic. Look for a tin labelled as floor paint or floor enamel. Read the label for primer, coats, and drying times.
How to Prepare a Timber Floor for Painting
Preparation decides how long the finish lasts. First, empty the room completely and take up any rugs. Then walk the floor and look for nails or screws that sit proud of the surface. Punch each one below the surface with a nail punch, or a raised head will tear the roller cover.
Next, fill the gaps. Fill nail holes and small cracks with flexible wood filler, then sand it flat once hard. Then sand the whole floor — until the shine is gone on varnished boards, lightly on bare boards. The aim is a dull, even surface that the paint can grip.
Finally, vacuum every corner and wipe the boards with a damp cloth to lift the fine dust. Let the floor dry completely first, or trapped moisture will bubble the finish. If you have painted cupboards before, the routine will feel familiar. Our cupboard painting guide covers the same sanding and priming steps for kitchen doors and wardrobes.
Choosing Floor Paint for Wood
Floor paint for wood comes in two main types, and most floorboard paint is water-based or oil-based. Water-based paint dries faster, smells less, and cleans up with water. Oil-based paint is tougher and suits busy hallways, but it smells strongly and takes much longer to dry. Either type works, so choose based on how long you can keep off the floor.
Similarly, check whether the paint needs a primer. On bare wood, a primer seals the surface and stops the topcoat soaking in unevenly, cutting the coats you need. On knots, use a stain-blocking primer so resin does not bleed through the colour. If the tin says the paint is self-priming, skip this step. When in doubt, prime — it costs less than a third coat.
Also, think about the finish. Matt or satin hides scuffs better than high gloss and suits most rooms. Gloss looks smart in a hallway but shows every mark. Buy enough for two or three thin coats, and stir the tin well first.
Grey Floor Paint and Other Colours That Work
Grey floor paint is the most popular choice for painted boards. A pale grey lifts a dark hallway and makes a small room feel larger. Meanwhile, a mid grey hides dust and everyday marks well. A dark charcoal grey looks striking in a large living room, though it shows dust more clearly.
If grey does not suit the room, white is a good second choice. White boards brighten a bedroom and pair well with coloured walls. A soft off-white feels warmer than bright white and hides scuffs better. Dark colours such as navy or deep green suit large rooms, but they shrink a small one. Whatever colour you pick, test a small patch first. Paint one board in a corner and live with it for a day.
How to Paint Floorboards Step by Step
Start at the corner furthest from the door and work back towards it. First, cut in around the edges with a brush, a few inches out from the skirting boards. Tape on the skirting keeps the line clean. Then roll the main area with a short-pile roller, working with the boards rather than across them.
Apply thin, even coats. Two or three thin coats always beat one thick one, which peels and takes far longer to dry. Let each coat dry fully first. The tin states the time, and 4 to 6 hours between coats is typical for water-based paint. After the first coat, lightly sand with fine-grit paper. Then vacuum and wipe clean. This helps the next coat grip far better.
Finally, apply the last coat slowly and evenly, in long, steady strokes. Avoid going back over paint that has started to set. Once it is on, leave the room alone. Do not touch the floor, and keep pets and children out until it is dry.
Drying and Curing: How Long Before You Walk on It
Drying and curing are not the same thing. Paint can feel dry within hours, yet still be soft underneath. As a rule, allow at least 24 hours before light foot traffic in socks. Then wait several days before moving furniture back, and a full week before laying rugs.
In fact, full curing can take far longer — a week or more for water-based paint. Oil-based paint takes longer still. Warm air and good ventilation speed the process, so open the windows and keep the room warm if you can. Cold, damp air slows drying and can leave a tacky finish, so allow extra time in winter. The tin gives the maker’s own times, so follow those above any general guide.
How Long Does a Painted Timber Floor Last?
A well-painted timber floor lasts for years in a bedroom, and a little less in a busy hallway. The finish wears first where feet turn, such as doorways and the bottom of the stairs. There, a light sand and a fresh topcoat will restore it. No need to strip the whole floor.
Sweep often and mop with a damp cloth, not a soaking wet one. Felt pads under furniture legs stop scratches, and a mat by the front door catches grit. Avoid harsh cleaners and steam mops, which can soften the finish. Wipe up spills quickly rather than leaving them to sit. With this small care, a painted floor stays smart far longer than most people expect.
Common Mistakes When Painting a Timber Floor
The most common mistake is skipping the prep. Paint laid over dust, wax, or shiny varnish will peel, however good the paint is. Always sand and clean first. Another common mistake is painting too thickly. A thick coat looks fine when wet, then cracks and peels as it dries. Thin coats take longer to build, but they last.
A third mistake is rushing between coats. If the first coat is still soft, the roller will lift it and leave a patchy finish. Wait the full drying time on the tin. A fourth is painting in cold or damp conditions, where paint may never harden properly. Finally, many people forget the edges. Cut in carefully along the skirting, or the finished floor will look rushed from the doorway. Overall, patience is the difference between a floor that lasts and one that needs redoing.
Repaint Grout: A Quick Job for Tiled Edges
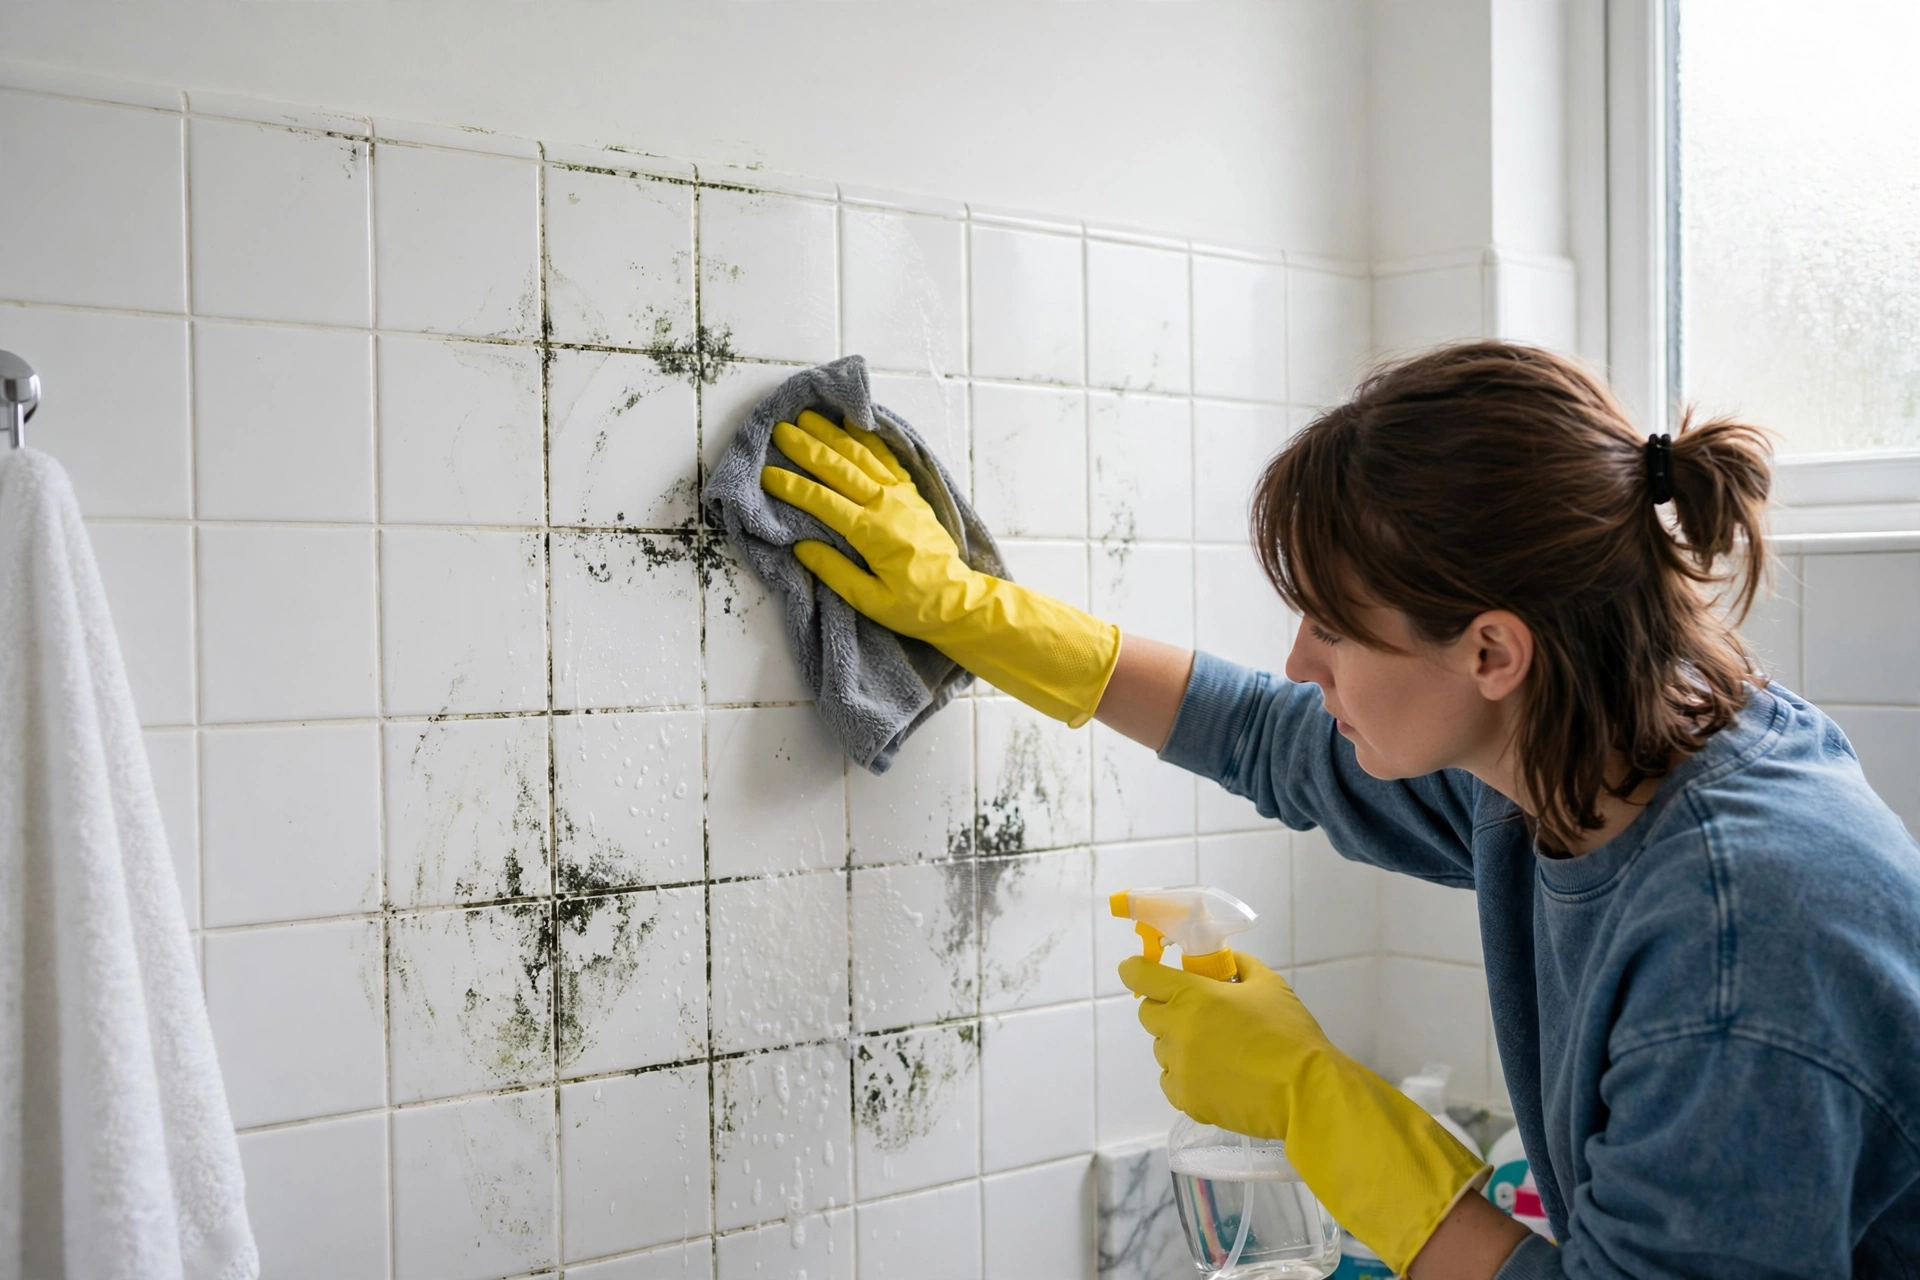
Repaint grout is a small job for the edges where a painted timber floor meets tiles, such as a bathroom doorway or a kitchen threshold. Grout lines darken with age. A grout pen or a small brush with grout paint can freshen them in under an hour. Clean the grout first with a brush and warm water, let it dry, then paint the lines slowly and evenly.
This job covers grout lines only. It is not a way to paint tiles, and it does not replace re-grouting cracked or missing grout. If the grout is loose or crumbling, rake it out and re-grout properly first. For sound grout that simply looks tired, a fresh coat makes the threshold look new again.
Painting a Timber Floor: Frequently Asked Questions
Can I paint a timber floor without sanding it first?
You can, but the finish will not last. Sanding gives the paint something to grip, and without it the paint peels at the edges. A light sand on bare boards takes far less time than a redo.
What is the best floor paint for wooden floorboards?
Use a paint made for floors, not wall paint. Water-based floor paint suits most rooms because it dries fast and smells less. Oil-based floor paint suits busy hallways because it is tougher. Either way, check the tin for the primer and drying time.
How many coats of wood floor paint do I need?
Two or three thin coats are normal. Bare wood usually needs a primer plus two topcoats. Previously painted boards in good shape may need only two. Thin coats dry harder and last longer than one thick coat.
How long should I wait before putting furniture back?
Wait at least 24 hours before light foot traffic, and several days before furniture, with felt pads under the legs. Full curing takes longer, so keep rugs off for a week.
Can I use grey floor paint in a small room?
Yes. A pale grey makes a small room feel larger and brighter and hides dust well. Dark grey suits large rooms better. Test a patch in a corner first, in daylight.
Painting a timber floor is a slow job, but a simple one. Prep the boards well. Choose a floor paint made for wood, and apply thin coats with time to dry between them. Overall, the floors that last longest are the ones where nobody rushed the prep.
Leave a Reply