

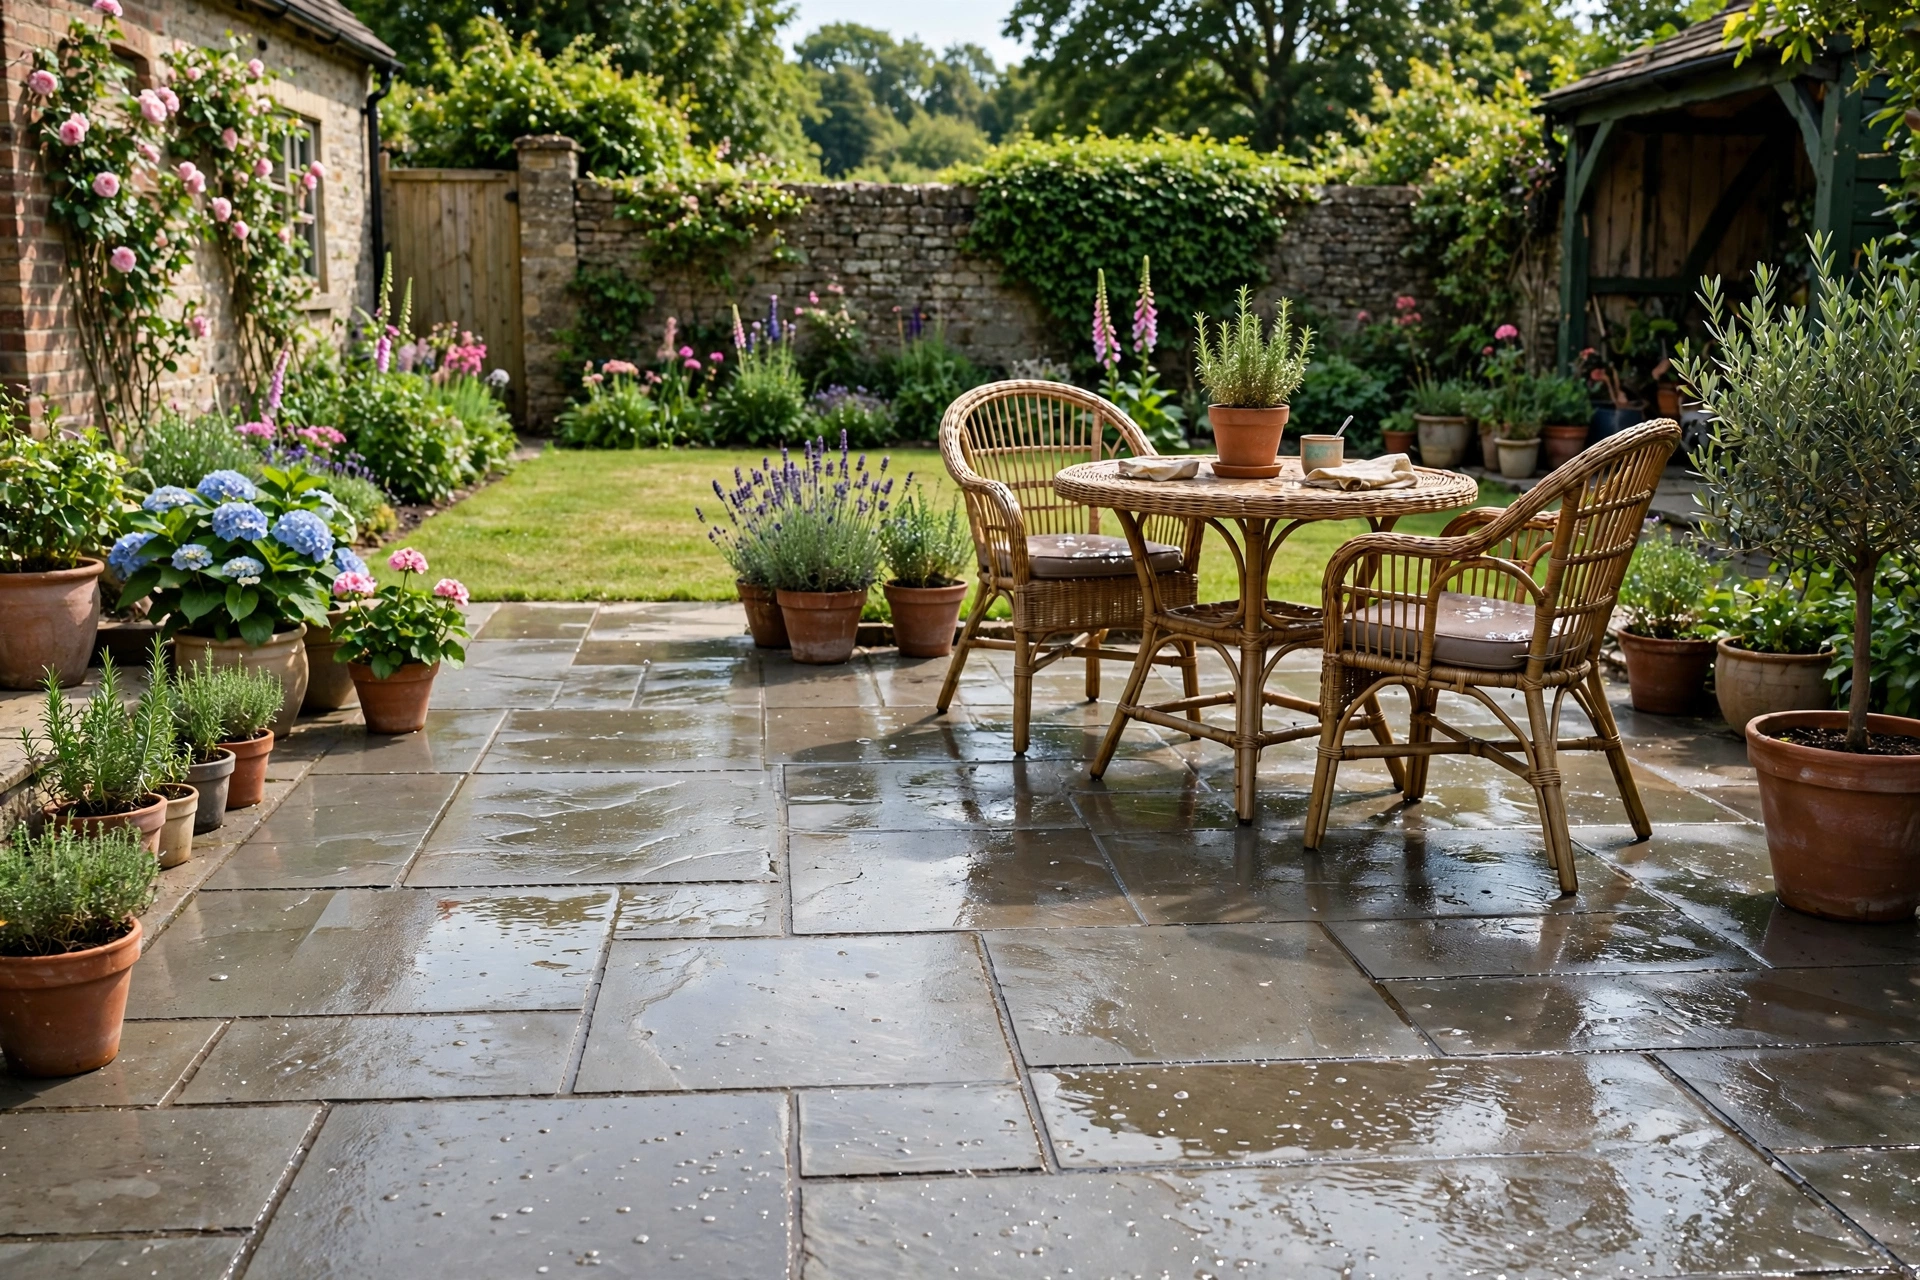
This patio cleaning guide turns a grimy, green patio back into a space you want to sit on. A stiff brush, a bucket and a dry day cover the tools. First, clear the surface. Then brush the joints. After that, wash the slabs. As a result, the stone looks brighter and the surface feels safer underfoot. This guide covers the brush method, the pressure washer method, black spot lichen, algae and block paving care.
Patio Cleaning: When and How Often
Clean the slabs twice a year, once in spring and once in autumn. A spring patio cleaning session takes half a day for most gardens. Spring clears the winter grime. Autumn clears fallen leaves before they stain the stone. In fact, leaves left over winter turn into a slippery, dark layer. Also, check the surface after heavy rain. If it feels slick underfoot, algae has taken hold. Act on a dry, mild day, with no rain in the forecast. A dry surface lets cleaners dwell and work. On the other hand, rain washes the cleaner away before it works. Finally, sweep the surface every few weeks in summer. A quick sweep stops dirt from settling into the joints.
Clear and Prep the Patio
Good patio cleaning starts with a clear surface. Start by moving everything off the slabs. Lift the table, chairs, pots and the barbecue. Also, take the cushions inside. Our garden cushions guide shows how to store cushions so they stay dry and fresh while you work. Then sweep the whole surface with a stiff yard brush. Push leaves, grit and loose moss into a pile. After that, pull weeds from the joints by hand. A weeding knife helps with deep roots. Finally, rinse the surface with a hose. A quick rinse shows the true state of the stone and lifts loose dirt.
Sweep and Brush the Grout
Careful patio cleaning starts in the joints, not on the slabs. Grout lines hold most of the dirt. First, sweep the joints with a stiff brush. Then brush patio grout joints with a narrow wire brush to lift moss and old sand. Work along each joint, not across it. In fact, brushing across the joints pushes dirt back in. After that, sweep the debris into a dustpan. If the joints look empty, note them for re-sanding later. Finally, check for loose slabs. A rocking slab needs lifting and re-bedding before you wash anything.
The Brush Method: Soap and Water
For gentle patio cleaning, the brush method suits light grime and soft stone. First, fill a bucket with warm water and a little washing-up liquid. Then scrub the slabs in small sections with a stiff yard brush. Work in circles and keep the surface wet. After that, rinse each section with clean water. In fact, a garden hose with a spray head rinses fast and saves water. For a green film, add a dedicated algae remover to the bucket. Follow the label and leave it to dwell for the time it states. Finally, scrub the film away and rinse again. The brush method takes longer, but it never damages the stone.
Patio Cleaning with a Pressure Washer
Pressure washer patio cleaning clears heavy grime fast. First, put on safety glasses and sturdy shoes. Then fit a wide fan nozzle. Never use a pinpoint jet on paving, as it carves lines into the stone. Hold the lance about 30cm from the surface and keep it moving. Never hold it in one spot. In fact, a still lance digs a channel into soft stone within seconds. Work in overlapping passes and keep the angle shallow. After that, rinse the joints gently. A strong jet blasts the sand clean out of block paving joints. Finally, let the surface dry and check the result. If green film remains, treat it with an algae remover before you wash again.
Block Paving: Cleaner and Re-Sanding
Block paving patio cleaning needs extra care after washing. First, apply a block paving cleaner to the surface. A dedicated cleaner lifts ingrained dirt and kills lichen at the root. Leave it to dwell for the time on the label, and keep the surface wet. If it dries out, the cleaner stops working. After that, agitate the surface with a stiff brush and rinse it clean. Then check the joints. Washing always removes some jointing sand, so you must replace it. Sweep kiln-dried sand across the surface and brush in patio grout sand with a stiff broom. Work the sand into every joint. Finally, sweep the spare sand away and let the surface settle. Fresh sand locks the blocks in place and stops weeds from taking hold.
Black Spot Lichen: The Stubborn Marks
Black spots on stone are usually lichen. The marks look like small, flat, dark circles. They root into the stone, so a brush alone will not shift them. Black spot is the hardest part of patio cleaning, so give it its own treatment.
First, apply a dedicated black spot remover to the dry surface. A black spot remover patio treatment works best on a dry, overcast day, with no rain in the forecast. Leave it to dwell for the time on the label — often an hour or more — and keep the surface damp. After that, rinse the surface with a low-pressure wash or a hose. In fact, many spots need a second treatment a few weeks later. For a stubborn mark, a black mark remover can help, but test it on a hidden slab first. Never attack black spots with a pinpoint jet. The jet pits the stone long before it shifts the lichen.
Algae and Green Staining
Algae turns slabs green and slippery. It loves damp, shaded spots and north-facing surfaces. First, sweep the surface clear. Then apply an algae remover to the green areas. Leave it to dwell for the time on the label. After that, scrub the film with a stiff brush and rinse the surface clean. In fact, an algae remover kills the growth at the root, so the green stays away longer than a wash alone. Finally, improve the light and airflow where you can. Trim back overhanging branches and move pots off the slabs. Sun and air dry the surface fast and slow the algae down.
Paths and Steps
Paths and steps need the same care as the main surface. First, sweep the path clear of leaves and grit. Then apply a path cleaner to stained or green areas. A dedicated path cleaner lifts ingrained dirt from narrow slabs and steps. Leave it to dwell, scrub the surface with a stiff brush and rinse it clean. After that, check the edges. Moss builds up where the path meets the lawn, so brush the edge line clean. Finally, treat slippery steps first. Steps cause the worst falls, so keep them free of algae all year.
Patio Cleaning Mistakes to Avoid
Some shortcuts cause real damage. First, never use acid on limestone, sandstone or York stone. Acid etches the surface and dulls it for good. Next, never use a pinpoint jet on soft stone. It carves stripes that never fade. Also, never jet wash loose or flaky stone. The jet takes the face clean off it. On the other hand, never seal a damp surface. A sealer traps moisture and turns the stone cloudy. Finally, never wash with a dirty brush. Grit on the bristles scratches the surface as you scrub.
Sealing and Aftercare
A sealer keeps the stone cleaner for longer. First, let the surface dry fully — at least a full day in dry weather. Then check the forecast for a dry spell. Apply the sealer with a roller or a sprayer, in thin, even coats. After that, keep foot traffic off the surface until it cures. In fact, most sealers need a day to cure. Finally, sweep the surface every few weeks. A quick sweep stops dirt from settling, and the sealer keeps working for longer.
Patio Cleaning FAQs
Can I clean the slabs without a pressure washer?
Yes. A stiff brush, warm soapy water and a dedicated cleaner shift most grime. A pressure washer only speeds the job up.
How do I remove black spots from the slabs?
Use a dedicated black spot remover and leave it to dwell. Most spots need two treatments a few weeks apart.
How often should I clean the surface?
Twice a year suits most homes — once in spring and once in autumn. Sweep it every few weeks in between.
Do I need to re-sand block paving after washing?
Yes. Washing removes jointing sand, so sweep kiln-dried sand back into the joints and brush it in well.
Can I seal the surface straight after washing?
No. Let it dry fully first, for at least a day in dry weather. A sealer on a damp surface traps moisture.
Now you know the full method, from the first sweep to the final seal. Keep this guide handy for spring and autumn. Clean the surface twice a year, treat black spots early, and the stone will stay bright for years.


Leave a Reply